Monday, August 17, 2009

Effortless Hair

Like most of us, at times I agonize over my hair. I buy all kinds of hair products to try and tame the frizz. I curl it, I straighten it. I have blow dried it to within an inch of it's life. I have teased and tortured it. I have dyed and bleached it. I have even permed it. But sometimes I just want to be able to just run out of the house with hair that took no time and looks great. The other day I noticed an article on MSN about 6 Gorgeous Things To Do With Your Hair Today. While most of the looks were over the top and outrageous, Can we say 80's gone wrong here? I was struck by the last look. It was so fresh and easy and something that most of us could pull off no matter the length of our hair.


I decided that I want that look! First off I have to find myself some beautiful headbands. Both ArtFire and Etsy have adorable headbands for sale that would look amazing with this style.
First to look on Etsy:

AuroraRose has this beautiful Blue checkered headband that would look so stunning in anyone's hair. Just elegant with blacks, greys and navys.


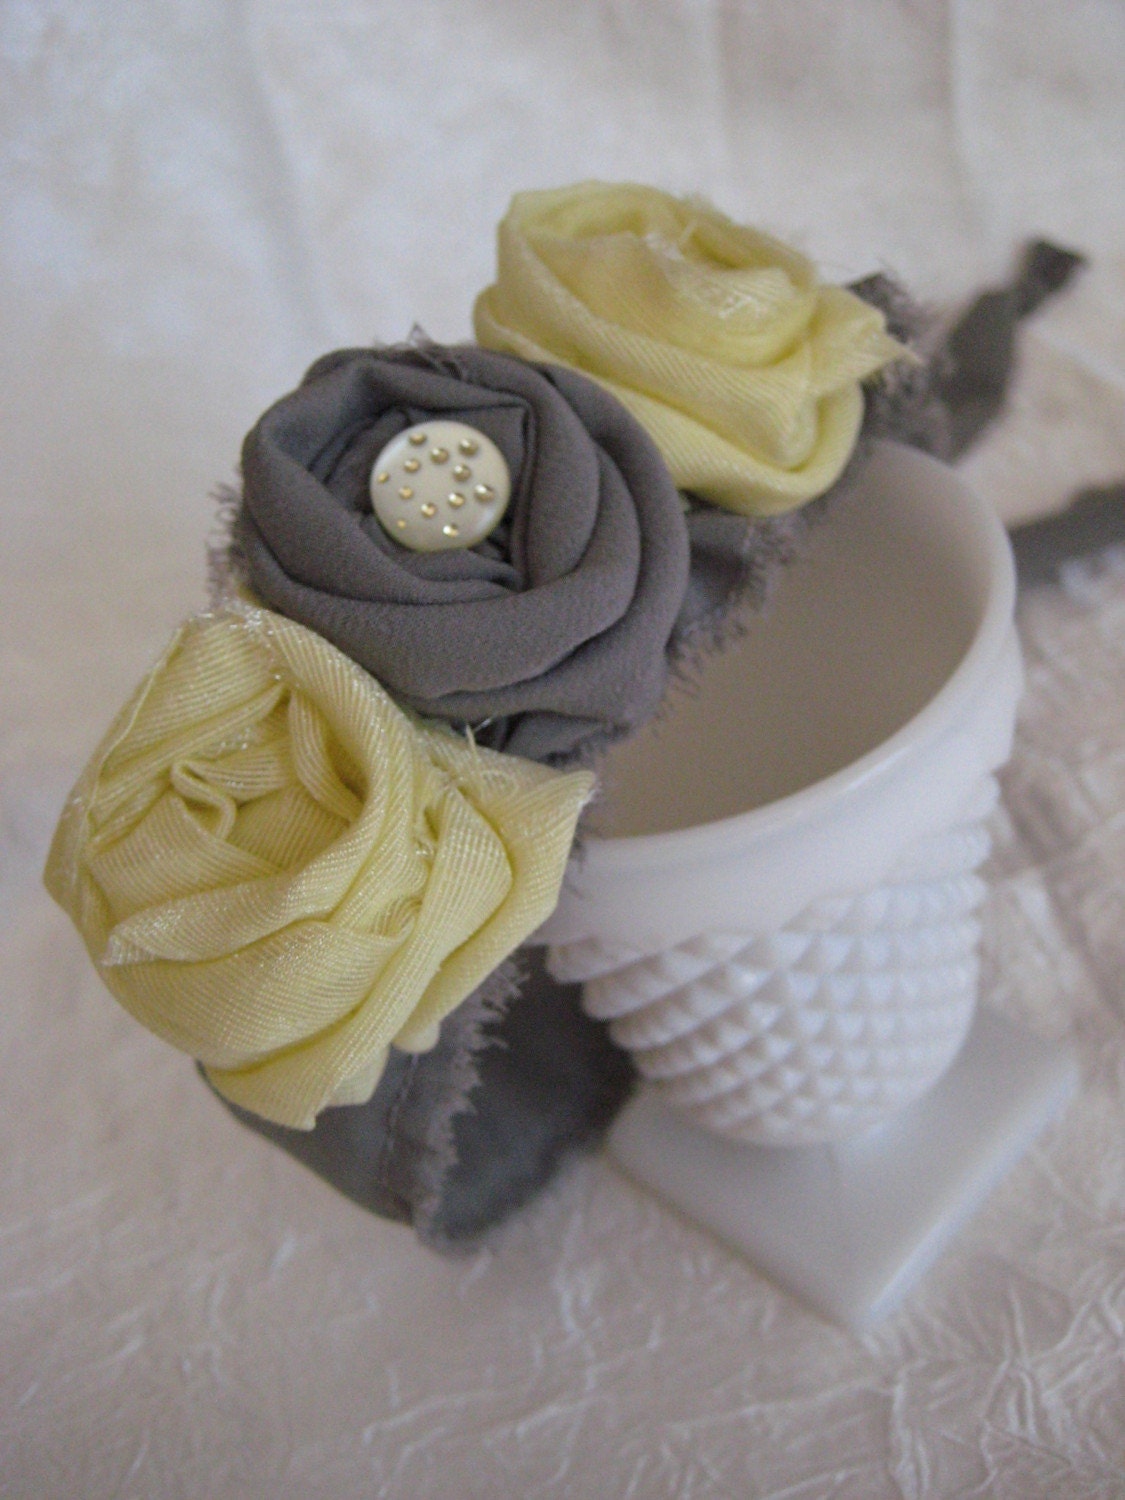
This one by Tatteredelegance would go so well with the greys and golds of Fall.


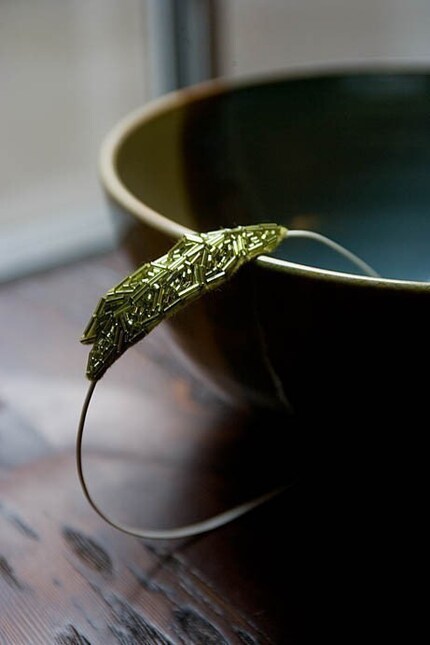
I just love the leaf shape and green color of this band. Very versatile color.


Now on to ArtFire:

This simple silver fern leaf is elegant for evening yet can be worn for day as well. By mylavaliere


For a bit of fun I would try this floral headband by winslow


So, will I have no more bad hair days from now on? Well, I doubt it. But at least my headband will look good. *grin*

Saturday, August 15, 2009

Anatomy of a Skirt Pt 3

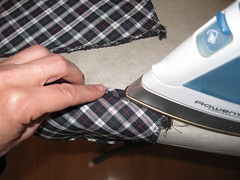
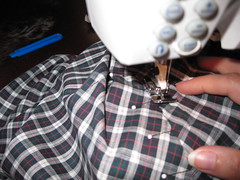
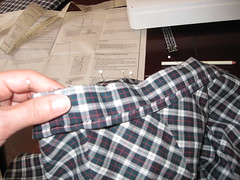
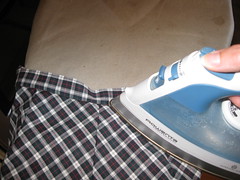
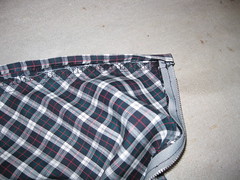
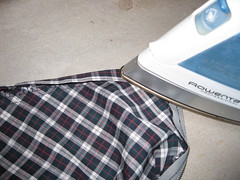
Here is the last part of the series Anatomy of a Skirt. So we need to put in the zipper. To do that we will need to press the sides of the seam that was left open over. One the left side press it 1/2" and on the right side press it 5/8". Turn right side out.


Anatomy of a Skirt Pt 3_58

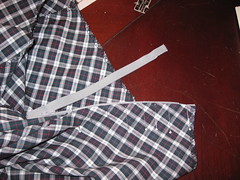
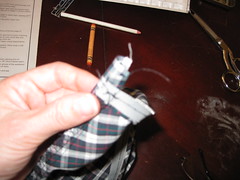
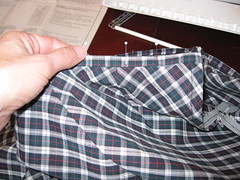
Pin baste the zipper to the side that has the 1/2" turn over matching the edge of the fabric just before the edge of the teeth. Stitch down.


Anatomy of a Skirt Pt 3_59

Anatomy of a Skirt Pt 3_60

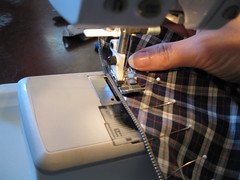
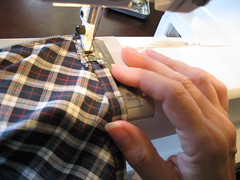
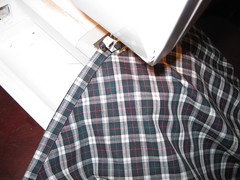
Zip up the zipper and pin baste the opposite fabric edge making sure to lap it over and having the edge just meet the seam edge where you sewed the other side of the zipper in. Starting at the bottom sew across the lower edge of the zipper. Keeping the needle down pivot 90 degrees and sew up toward the top.When you get to the top carefully raise the foot so you can unzip the zipper and then lower the foot and continue sewing to the end.


Anatomy of a Skirt Pt 3_65

Anatomy of a Skirt Pt 3_67

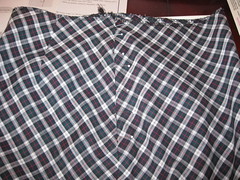
The zipper is done and now to the waistband.

Take the waistband and press down 1/4" along the one edge. I used the selvedge so no need to serge it to keep it from fraying.


Anatomy of a Skirt Pt 3_68

With the right sides together pin it to the skirt. Stitch in.


Anatomy of a Skirt Pt 3_69

Press seam toward band.


Anatomy of a Skirt Pt 3_70

Fold band with right sides together and stitch the ends.


Anatomy of a Skirt Pt 3_71

Trim seams. Unfold and press band flat matching edge just over edge of seam at waist.


Anatomy of a Skirt Pt 3_72

Anatomy of a Skirt Pt 3_73

Pin down on outside of skirt.


Anatomy of a Skirt Pt 3_74

Stitch in the ditch, which means stitch in the seam line, of the waistband.


Anatomy of a Skirt Pt 3_76

Anatomy of a Skirt Pt 3_78

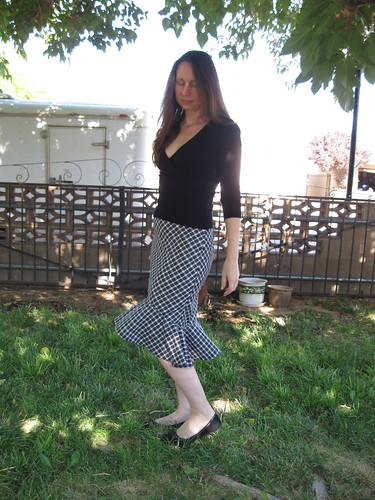
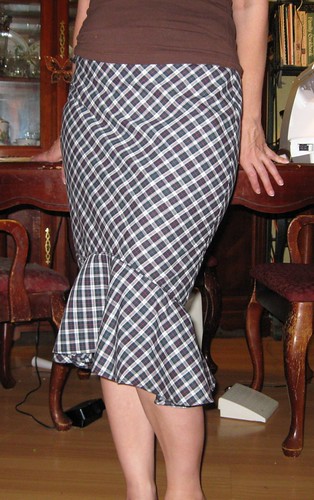
Lastly I sewed in a skirt hook and eye. Finally the skirt is done!


Anatomy of a Skirt_8

Don't forget to leave a comment for a chance to win 2 yards of fabric. I will do the drawing on Wednesday to give enough time for people to comment.

Friday, August 14, 2009

Friday Finds Aug 14

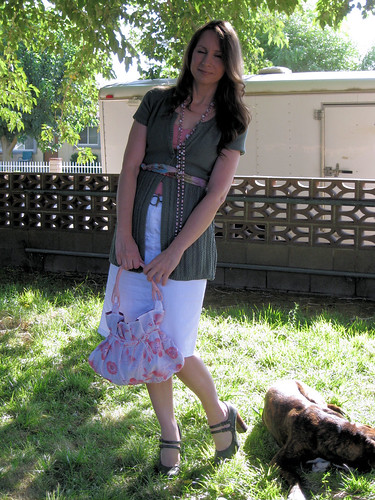
This week was Back To School Shopping week so I first went with my daughter and granddaughters to Target to pick up what they needed for school. While looking at children's clothing with them I noticed this moss green cardigan.


Friday Finds Aug 14Originally uploaded by Peldyn

On a whim I tried on the largest size and it fit! Whoo hoo! At only $12.99 it was a definite bargain! It looks ever so nice with the new purse I bought from Tarah Kins she has a shop on ArtFire.


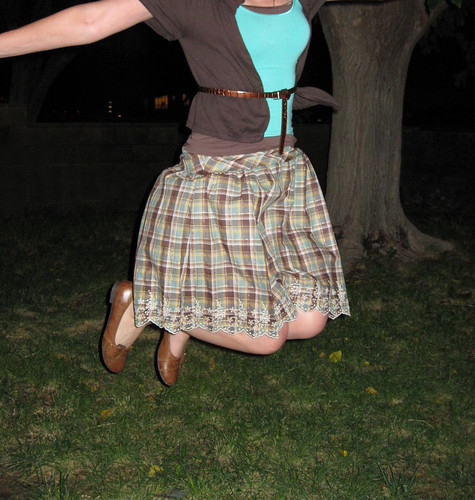
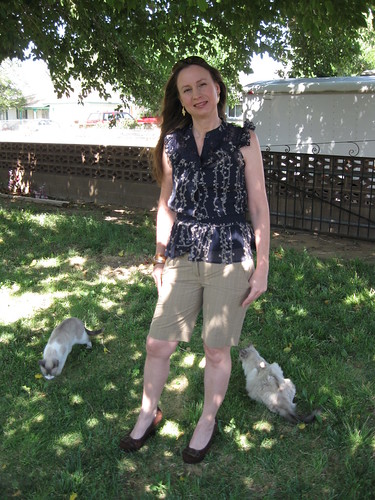
Next was Kohl's for clothes for my nephew and this adorable little skirt for me. I love the ivory embroidery that is all the way around the hem. It was on sale for $23.20. It is also plaid which is touted as being really big for Fall. This would also pair well with the new cardigan!


Friday Finds Aug 14Originally uploaded by Peldyn

Lastly I had to nip in to my beloved Forever21 where I found this navy and beige silk blouse with lace inset neckline for $22.50. Perfect to wear alone now and to layer over long sleeve tees and under cardigans later in the season.


Friday Finds Aug 14Originally uploaded by Peldyn

I also shopped from one of the jewelry designers showcased on Amazing Artisans. I can't wait until the earrings I ordered come in!

Now to have another cup of tea and look at ebay. I have a hankering for vintage :)

Wednesday, August 12, 2009

Lucky Magazine Styles New Trends for Etsy

Jackie Nasser of Lucky Magazine held a show in the Virtual Labs this evening at Etsy to showcase the new Fall trends. This was a great opportunity to let buyers see what was on trend and available for sale on Etsy.

Many people would not think of Etsy as the go to place for fashion. It has had the image of the crafter who sits at home knitting toilet paper cozies or makes tatty stuffed animals. Well this showing definitely blew that image out of the water. The clothes were very beautiful and up to par with what you would find in any small boutique.

Here are what the big trends to look out for are:

Plaids:
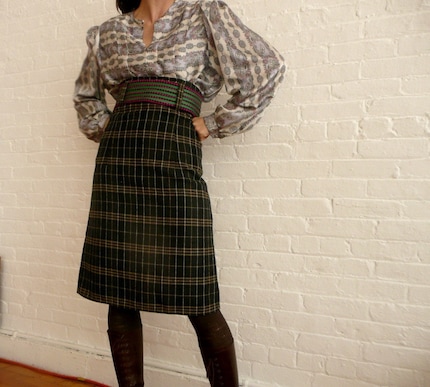
Look for them in skirts, blouses, blazers, shoes, etc.

Big Florals:
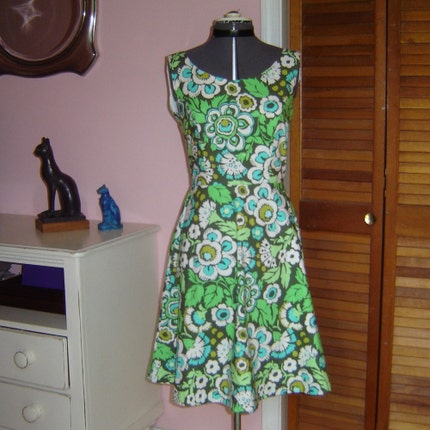
These can be mixed with solids or smaller florals in coordinating colors. Keep the jewelry simple so as not to overwhelm the outfit.

Jumpsuits:
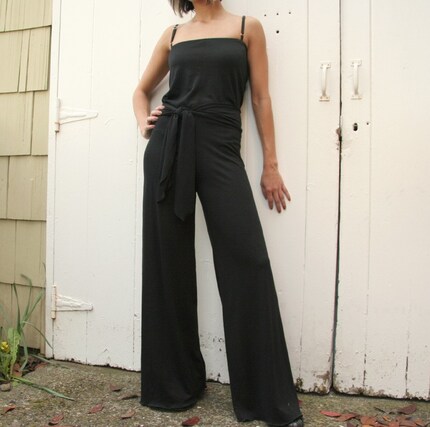
This look is still around and can be hard to style. I found this lovely option that would look great with a blazer or with a blouse underneath.

Blazers:

Whether going retro with the menswear look or rocking the brights a Blazer is a Fall necessity. The styling options are endless and it will keep you toasty warm!

Brights:
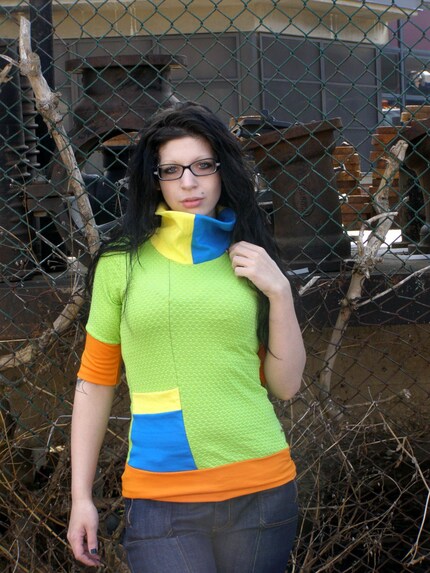
Neon brights from the Spring are still around. Why just wear one? Tone it down with jeans and maybe a nice jacket. Or not? If you are young you can really rock this look and go for a bright mini!

Big Cocktail Rings:
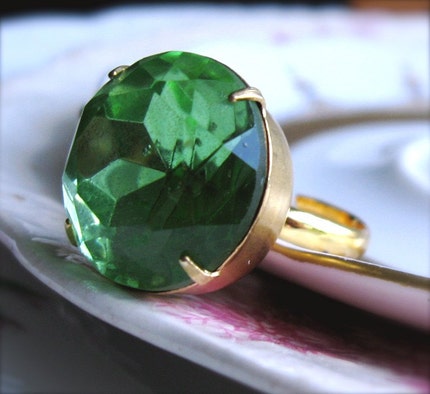
What every woman needs gracing her finger, a big vintage looking ring. Luckily I have my grandmothers stash, but for those not as lucky Etsy has a treasure trove.

Statement Necklaces:
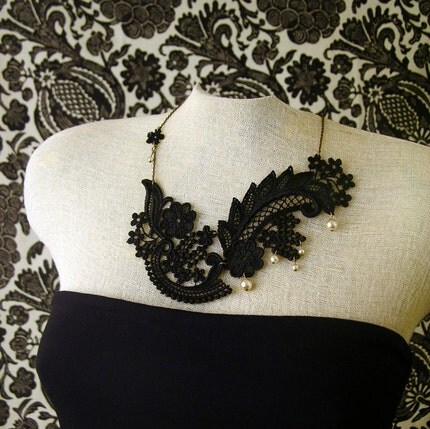
Large necklaces, especially in the bib style are making a strong showing. Etsy is the perfect place to get a one of a kind creation.

Menwear's Inspired Style:
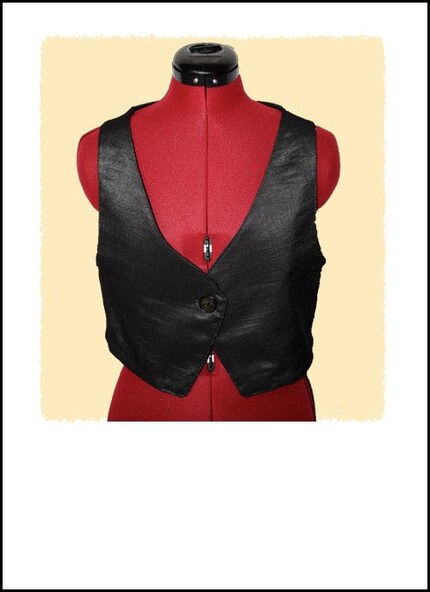


You can't mention menswear inspired style without invoking images of Annie Hall. Such a classic look!

Long Sleeved Mini Dress
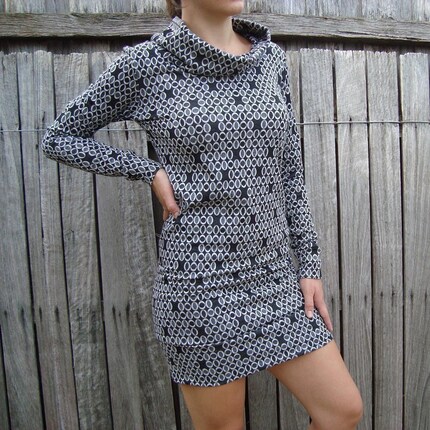
Wore with tights, leggings or maybe skinny jeans if you are not comfortable with your bare legs. This is a classier take on the 60's mini dress.

Color:
While nothing much was said about color other than the Brights that are listed here, many of us noted that quite a few of the picks that Jackie had were in purple hues. She never came out right out and answered the questions on whether purple was the "in" color for fall, but it is safe to say that you can not go wrong with plums and lavenders when paired with the seasons greys and golds.

Why shop Etsy for your fashion? As noted by Jackie, many Etsy shops recycle/upcyle or use sustainable materials in their garments. This creates less waste and is easier on the environment So you are being kind to Mother Earth! It is also becoming a trend to have a connection to the person who created the item you are purchasing. Where better to be able to do that than Etsy?

So I know I have now been inspired to start my Fall shopping. My favorites list is now a mile long! Thank you Jackie and thank you Etsy for this great opportunity.

Anatomy of a Skirt Pt. 2

Now that all the pieces are cut out it is time to put them all together. First pin the darts together and sew them in. Start at the point reinforcing it well and sew out to the edge following the line drawn in dressmakers chalk.


Anatomy of a Skirt 018Originally uploaded by Peldyn


Anatomy of a Skirt 019Originally uploaded by Peldyn


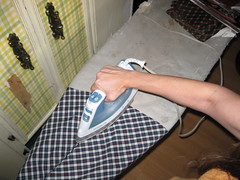
Press them flat. Next step pin the skirt sides together matching the pattern of the plaid pinning precisely. This is important and makes a big difference in the finished look of the garment. Nothing says "home made" like a mismatched plaid at the seam line. Sew up the left side of the skirt and then sew the right side just to the notch, reinforcing.
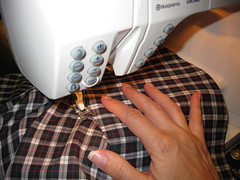

Anatomy of a Skirt 020Originally uploaded by Peldyn


I prefer to serge my seams for a professional look. On the right side since a zipper will be going in I serge only the fabric edges and machine stitch the seam itself. Now I serge the top edge of the skirt to stay the fabric.

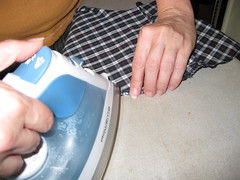
Pressing time! It helps to make the sewing go smoothly if you press your seams as you sew.


Anatomy of a Skirt 022Originally uploaded by Peldyn


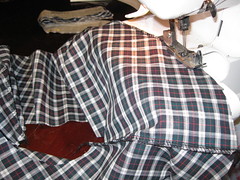
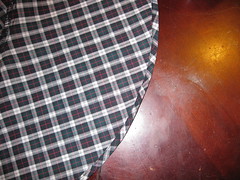
Now to the ruffle. Sew the front to the back pressing the seams and them serge the hem edge and press it over once and then again.


Anatomy of a Skirt 023Originally uploaded by Peldyn


Anatomy of a Skirt 024Originally uploaded by Peldyn


Stitch it down with the needle over to the left so you just catch the edge of the fold. This gives a nice professional look and is called a shirttail hem.


Anatomy of a Skirt 025Originally uploaded by Peldyn


Anatomy of a Skirt 031Originally uploaded by Peldyn


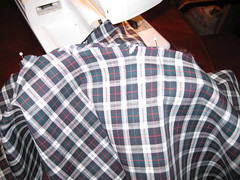
Make small cuts in the upper edge of the ruffle and matching seams pin it into the skirt easing where needed.


Anatomy of a Skirt 026Originally uploaded by Peldyn


Stitch in ruffle. I finish the raw edge with serging and then after pressing the seam up I topstitch it in place.


Anatomy of a Skirt 027>Originally uploaded by Peldyn


Now for a quick try on to see how it fits! So I see that it is a little big in the waist and hip area so I take a seam in the center back that tapers down to the hem. After I try it on again it looks great!


Anatomy of a Skirt 030Originally uploaded by Peldyn


Don't forget to leave your name and e-mail in your comment for the fabric give-a-way!

***Saturday- Zipper and Waistband***

Monday, August 10, 2009

Anatomy of a Skirt Pt. 1

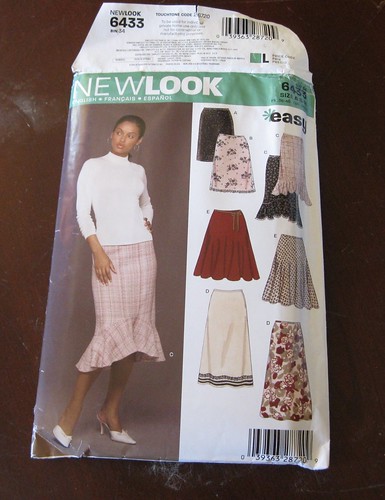
As promised I am going to walk you through the process of sewing a skirt. Of course the first thing to do is settle on a pattern.


Anatomy of a Skirt 016Originally uploaded by Peldyn


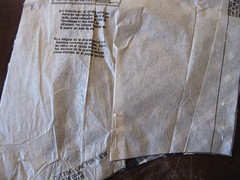
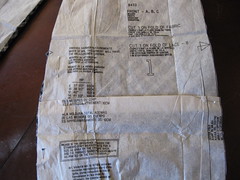
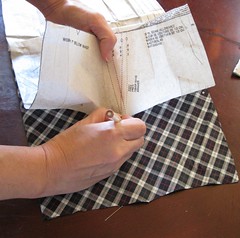
I chose this close fitting style with a deep ruffle that was higher in the front than the back. I took my measurements and decided that I was in between a size 8 and a 10. After reading the pattern it said the the garment was designed with 4 inches of garment ease. That is a lot of ease! I don't like my garments loose so I had to think how to go about this. Since I have chosen a lovely black and white cotton plaid I thought it would look better if it was on the bias. Being on the bias would give the garment more "wearing ease" so I could cut it closer to the body. Taking this into consideration I used the size 8 to cut the skirt out. You may notice from the pictures that I did not actually cut the pattern itself out as a size 8, it is merely folded under. I do this to give more options later on when cutting a different garment. I took pinches in at the hem to narrow the skirt both at the front and back as I wished it to be tighter at the knee.


Anatomy of a Skirt 013Originally uploaded by Peldyn


The ruffle had to have pinches taken in also so it would fit the narrower silhouette. I shortened the skirt by 2 inches as well. These alterations were all done using pins on the pattern.


Anatomy of a Skirt 014Originally uploaded by Peldyn


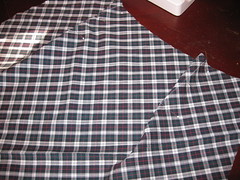
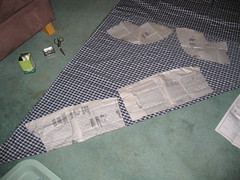
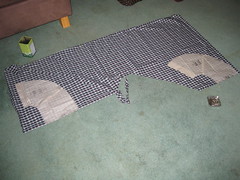
Ignoring the directions, I unfolded my fabric completely and took one corner and pulled it to the other edge creating a triangle.


Anatomy of a Skirt 005Originally uploaded by Peldyn


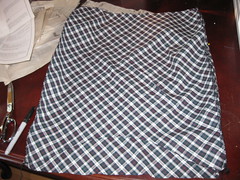
I laid the skirt front and back out on the fold. I took care to make sure that the pattern would match by cutting out the skirt front first and then laying it on top of the skirt back and shifting the pattern up and down until the pattern was just right. I then took off the skirt front, pinned the skirt back down and cut it out.


Anatomy of a Skirt 006Originally uploaded by Peldyn


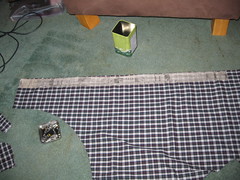
I refolded the fabric again and cut the ruffle and waistband. Because I changed how the skirt is placed on the grain I used a lot less fabric then the pattern called for, only a yard!


Anatomy of a Skirt 007Originally uploaded by Peldyn


Anatomy of a Skirt 010
Originally uploaded by Peldyn


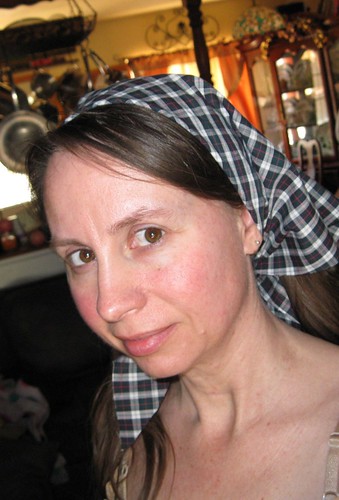
I cut a cute little head scarf for myself out of the scraps! Now I marked the darts with dressmaker's chalk and am ready to sew!


Anatomy of a Skirt 017Originally uploaded by Peldyn


Now what about that left over fabric? I am going to be giving it away! One reader who leaves a comment over the the length of this series will win 2 yards of black and white cotton plaid to make their own skirt with! All you have to do is comment on one of the articles to enter. I will pick a name at random and announce the winner when the series is done.

***Wednesday, Starting to Sew!***
Related Posts with Thumbnails