Anatomy of a Skirt 016Originally uploaded by Peldyn
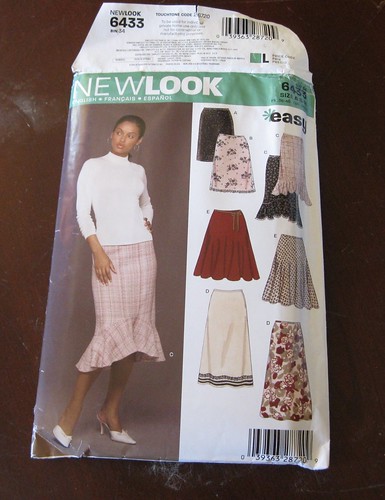
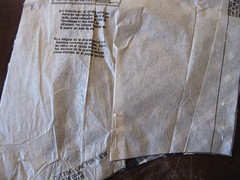
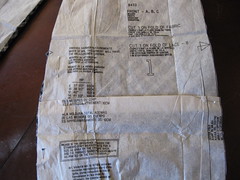
I chose this close fitting style with a deep ruffle that was higher in the front than the back. I took my measurements and decided that I was in between a size 8 and a 10. After reading the pattern it said the the garment was designed with 4 inches of garment ease. That is a lot of ease! I don't like my garments loose so I had to think how to go about this. Since I have chosen a lovely black and white cotton plaid I thought it would look better if it was on the bias. Being on the bias would give the garment more "wearing ease" so I could cut it closer to the body. Taking this into consideration I used the size 8 to cut the skirt out. You may notice from the pictures that I did not actually cut the pattern itself out as a size 8, it is merely folded under. I do this to give more options later on when cutting a different garment. I took pinches in at the hem to narrow the skirt both at the front and back as I wished it to be tighter at the knee.

Anatomy of a Skirt 013Originally uploaded by Peldyn
The ruffle had to have pinches taken in also so it would fit the narrower silhouette. I shortened the skirt by 2 inches as well. These alterations were all done using pins on the pattern.

Anatomy of a Skirt 014Originally uploaded by Peldyn
Ignoring the directions, I unfolded my fabric completely and took one corner and pulled it to the other edge creating a triangle.

Anatomy of a Skirt 005Originally uploaded by Peldyn
I laid the skirt front and back out on the fold. I took care to make sure that the pattern would match by cutting out the skirt front first and then laying it on top of the skirt back and shifting the pattern up and down until the pattern was just right. I then took off the skirt front, pinned the skirt back down and cut it out.

Anatomy of a Skirt 006Originally uploaded by Peldyn
I refolded the fabric again and cut the ruffle and waistband. Because I changed how the skirt is placed on the grain I used a lot less fabric then the pattern called for, only a yard!

Anatomy of a Skirt 007Originally uploaded by Peldyn

Anatomy of a Skirt 010
Originally uploaded by Peldyn
I cut a cute little head scarf for myself out of the scraps! Now I marked the darts with dressmaker's chalk and am ready to sew!

Anatomy of a Skirt 017Originally uploaded by Peldyn
Now what about that left over fabric? I am going to be giving it away! One reader who leaves a comment over the the length of this series will win 2 yards of black and white cotton plaid to make their own skirt with! All you have to do is comment on one of the articles to enter. I will pick a name at random and announce the winner when the series is done.
***Wednesday, Starting to Sew!***


You make it look so simple.
ReplyDeletevalerie
It really is pretty simple. I think anyone can do it. :)
ReplyDeletecan't wait to see the finished skirt, looks darling!
ReplyDeleteThanks for the tip on not cutting out the original pattern ...
ReplyDeleteMelanie!