

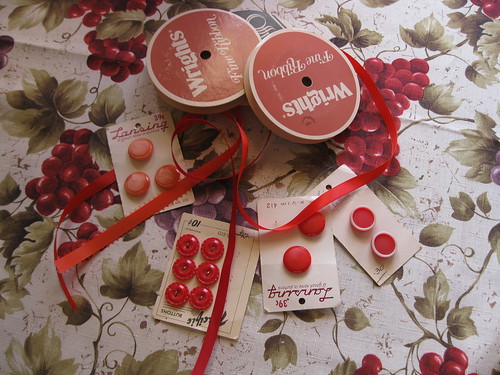
First I picked out a few ribbons and buttons. You can choose what colors you like. I went with coral and red, but later on I plan on doing more in many different colors!
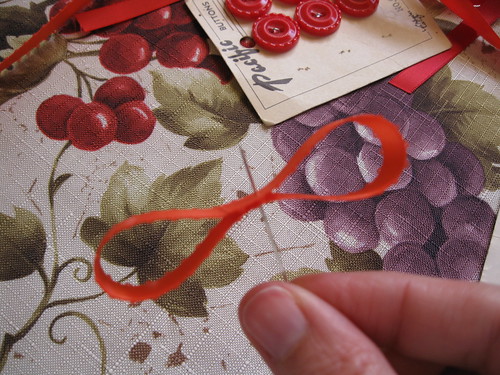
Cut your ribbons from 5 to 7 inches depending upon the ribbon thickness and how big your button is. The coral ribbon is 7 inches and the cherry red is 6. I plan on doing some that are smaller. Make a loop with the ribbon overlapping the ends about 1/4 of an inch. Pinch in the middle and using a needle threaded with matching thread, run a stitch through the center.
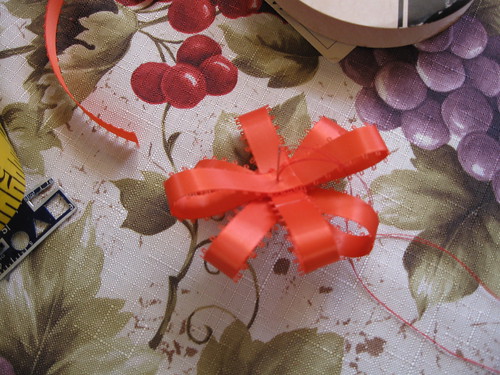
Do the same with the other ribbons stacking on top. Use three to four ribbons per rosette. It is up to you.

Center button in the middle and stitch in place.

For the coral rosette I then sewed a pinback in place.
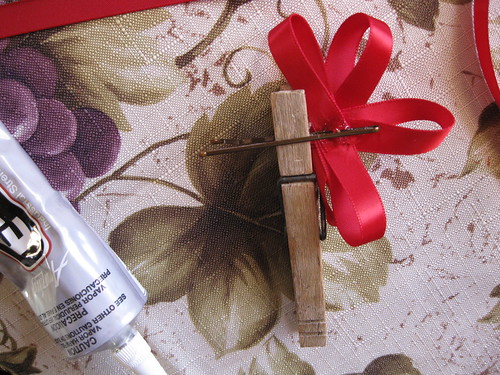
For the cherry rosette I sewed a bobby pin and then used E-6000 to further hold it in place.
You can use your rosettes to decorate so many things!
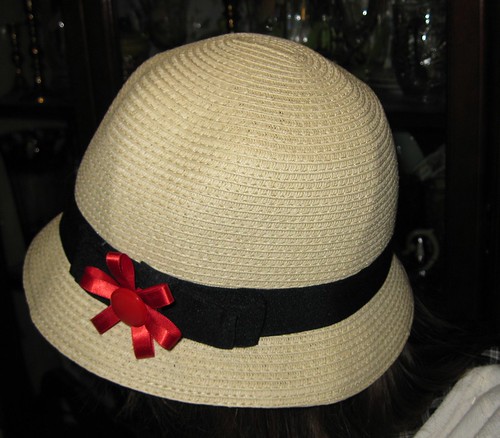
Hats
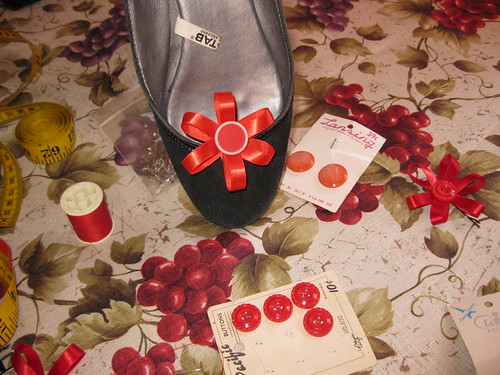
Shoes
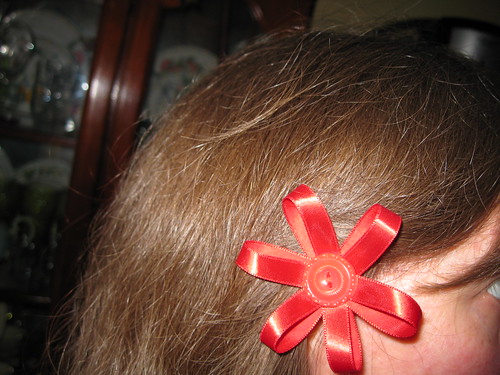
Hair
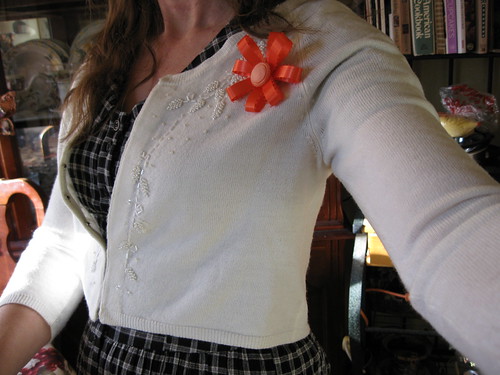
Your clothes!
This was so much fun I plan on teaching my granddaughter how to do it. This will make a great weekend project for us.
Pel

Very cute! It really pops against your black shoes. Very fun!
ReplyDelete:-)
Thanks Nancy. I can't wait to make more in other colours. I think maybe brown and cream next to pin on a bunch of necklaces.
ReplyDelete