

Anatomy of a Skirt 018Originally uploaded by Peldyn

Anatomy of a Skirt 019Originally uploaded by Peldyn
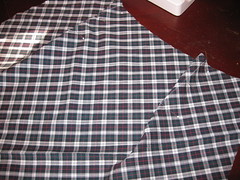
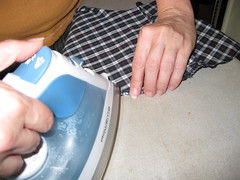
Press them flat. Next step pin the skirt sides together matching the pattern of the plaid pinning precisely. This is important and makes a big difference in the finished look of the garment. Nothing says "home made" like a mismatched plaid at the seam line. Sew up the left side of the skirt and then sew the right side just to the notch, reinforcing.
Anatomy of a Skirt 020Originally uploaded by Peldyn
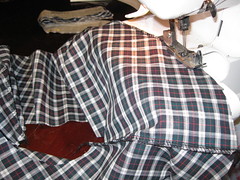
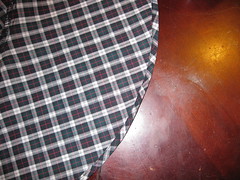
I prefer to serge my seams for a professional look. On the right side since a zipper will be going in I serge only the fabric edges and machine stitch the seam itself. Now I serge the top edge of the skirt to stay the fabric.
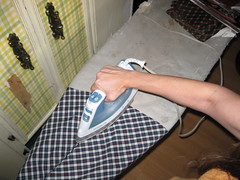
Pressing time! It helps to make the sewing go smoothly if you press your seams as you sew.
Anatomy of a Skirt 022Originally uploaded by Peldyn
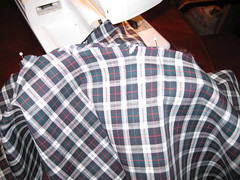
Now to the ruffle. Sew the front to the back pressing the seams and them serge the hem edge and press it over once and then again.
Anatomy of a Skirt 023Originally uploaded by Peldyn
Anatomy of a Skirt 024Originally uploaded by Peldyn
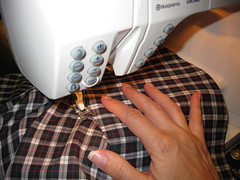
Stitch it down with the needle over to the left so you just catch the edge of the fold. This gives a nice professional look and is called a shirttail hem.

Anatomy of a Skirt 025Originally uploaded by Peldyn
Anatomy of a Skirt 031Originally uploaded by Peldyn
Make small cuts in the upper edge of the ruffle and matching seams pin it into the skirt easing where needed.
Anatomy of a Skirt 026Originally uploaded by Peldyn
Stitch in ruffle. I finish the raw edge with serging and then after pressing the seam up I topstitch it in place.
Anatomy of a Skirt 027>Originally uploaded by Peldyn
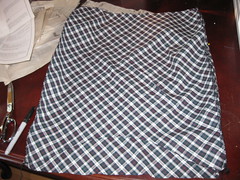
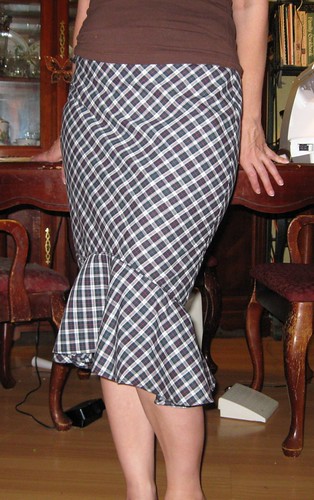
Now for a quick try on to see how it fits! So I see that it is a little big in the waist and hip area so I take a seam in the center back that tapers down to the hem. After I try it on again it looks great!
Anatomy of a Skirt 030Originally uploaded by Peldyn
Don't forget to leave your name and e-mail in your comment for the fabric give-a-way!
***Saturday- Zipper and Waistband***

Very pretty ... ok so how do you make an even hem? Is that a whole new day?
ReplyDeleteMelanie!
It is shown here, you press up the edge after serging it and stitch it. For this skirt evenness in not an issue. If you are making a skirt and you would like the hem to be a certain distance from the ground all the way around it pays to get a device that is specially made to measure hems. I have a vintage one that belonged to my grandmother. I will find it and next week do an article for you. :)
ReplyDeleteWow, the skirt looks amazing and I love the fabric you chose!
ReplyDeleteThe ruffle on the bottom is great
ReplyDeletevalerie
Thanks Pel I can't wait to see the hem blog entry. I usually just leave the edge cause I cannot ever get a straight hem.
ReplyDeleteMelanie!